| . . . |
Spot Light Corner:
Chasm - the master of artistic post-processing
Post processing (pp) of fractal works is always a debatable subject among the fractal artists. There are many ways of using pp, from mere resizing through distortions and coatings, to end with a total destruction of the fractal's patterns. So the first time I saw Chasm works I was astonished - never before have I seen such mastering of fractal post-processing.
It is my opinion that fractal pp will remain fractal art, as long as the pp has not ruined the original fractal patterns. Chasm has described it in a most beautiful and clear way:
"I was pleased insofar that I've managed to preserve the original fractal contour and much of the coloring, and not ruin the image in a filter-frenzy:)"
So I think it is best to let Chasm carry on from here:
Jo has asked me the other day to do a short text about my fractal post-processing in Photoshop. So, here it is:):
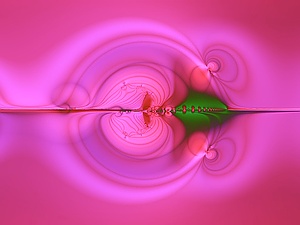
Picture 1: Starting point - the original fractal in GrafZVizion 42
The starting point was the above image (picture 1). It was rendered in GrafZVizion 42, one of the well-known Stephen Ferguson's fractal generators. I've deliberately chosen somewhat bland picture to start with, the better to show what a little bit of texturizing can do with it. After importing this image into Photoshop, I selected the central contour's rim. With a bit of feathering, I applied one of the KPT texturizing filters, with the following result (picture 2):
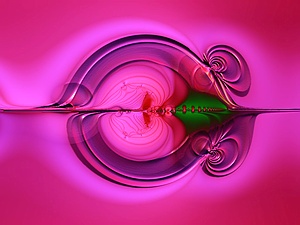
Picture 2: 2nd stage with KPT texturizing filter
Still retaining the same selection, I added a bit of "glassy" feel to it, using Lacquer filter, to this effect (picture 3:
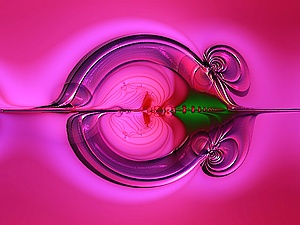
Picture 3: 3rd stage with Lacquer filter
Second step was the selection of the central bit of the image. After using a different KPT texturizer, I got the following (picture 4):
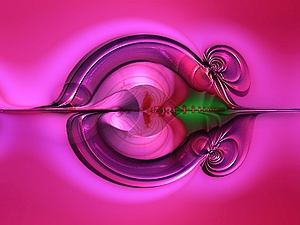
Picture 4: 4th stage with KPT texturizer
You'll notice that the central part is now convex, and it has a bit of lighting effect added. After prinking this selection with Lacquer too, this was the result (picture 5):
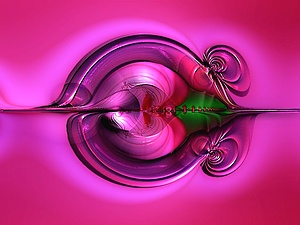
Picture 5: 5th stage with additional Lacquer filter
Now, the fractal itself had a nice 3Dish looks, but the surrounding was rather flat. After selecting the outer part of the image, I applied two successive noise filters to roughen up the surface, then NIK Color Efex to darken the corners, and a bit more Lacquer, but with minimal settings - I didn't want the background to appear too glittery. After some fine tuning of Hue-Saturation-Lightness and Brightness-Contrast I got this final picture (picture 6):
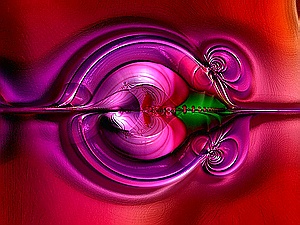
Picture 6: 65th stage - end product
I was pleased insofar that I've managed to preserve the original fractal contour and much of the coloring, and not ruin the image in a filter-frenzy:).
The conclusion of this text is: everyone can do it, provided
a) they have a rough idea where they are going;
b) they are very careful about the selection and feathering bit - it's the crucial part of any Photoshop work; and
c) they try very hard not to destroy the original fractal:).
Do you like it?:)
Chasm
|
Yes Chasm, I like it!
The curator
December 2000
|


