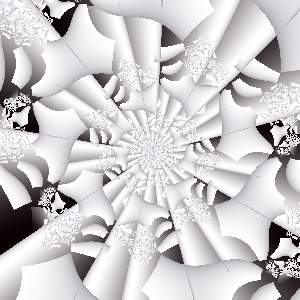
 |
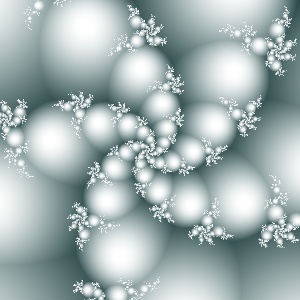 |
| Spiral 1: Atan or Wotan (Loop) |
Spiral 2: Harlequin |
Now after successfully establishing the basic spiral layer we can really start to enjoy our creation. To make it best obvious I have chosen to start with the monochromatic (b&w or any single hue) coloring gradient. Using only monochromatic colors we are free from the endless arrangements of colors, that may cause at times a lot of frustration. So we can put all our concentration on the design of the fractal forms and textures.
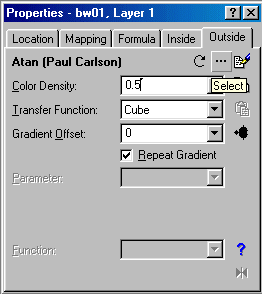 Since the Mandelbrot formula has a specific outside coloring patterns, we have to apply more sophisticated methods in order to get various coloring patterns in the outside area. This may be easily achieved by setting a "coloring formula" to the outside tab. To do this click on the 3 points [...] under the "Outside" tab, at the top-right corner o the big properties box (see picture at the right) .
In all the picture that are displayed on this page I have used only the basic standard Julia set, as was described in page "Spiral 3". In the picture spiral 1 above I have chosen the "Atan or Wotan (Loop)" coloring formula, and in picture "Spiral 2" the "Harlequin" coloring formula. All the coloring formulas are situated at the "Formula" directory of the UF program in files with the "UCL" subfix. When you click over the [...] of the outside tag all the coloring formulas appear automatically in the popup "Select Outside Coloring" box. When you do a single click over a coloring formula name, you will see a preview in the small preview box at the top-right corner of the "Select Outside Coloring" box.
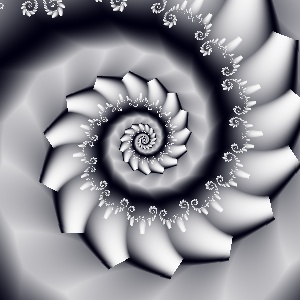 |
 |
| Spiral 3: M Hevier Distance Method |
Spiral 4: M Hevigon |
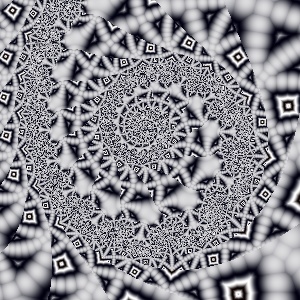
By now you have mastered all the technical skills, that are needed to create your masterpiece spiral. All the rest lies in the "genius" department, where some talent is needed, at least to select the corn from the straw :-) In the following pictures you will see a simple ONE LAYER spiral pictures, that were created y selecting different coloring formulas for each picture. The formulas were picked at random, and applied to the basic Julia spiral base. A quick color shift was applied when needed, to achieve the best contrast and sharpness. The pictures were created with "clean" renderings (as is). No Anti-Aliasing was applied, either direct or indirect. The pictures on this page are direct renders by the UF generator in 1:1 ratio, so you can view them exactly as they were created by the fractal program.
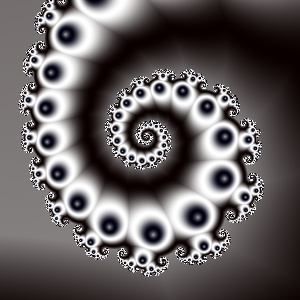
Pi cure "Spiral 3" above uses the M Hevier color formula with the distance method set to minimal distance. Changing the minimal distance parameter to any of the other (i.e., minimal real, minimal imaginary, maximal distance, etc. will render totally different pictures. Just play with it, watch and enjoy. Picture "Spiral 4" above uses the Hevigon coloring formula,
 |
 |
| Spiral 5: Orbit Traps (sinus) |
Spiral 6: Harlequin (cube) |
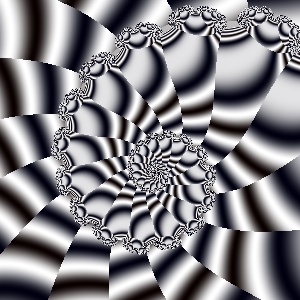
The pictures "Spiral 5" and "Spiral 6" (above) are both created with the "Orbit Trap" formula. I put them side by side so you will be able to see the variations caused by applying two different "Transfer Functions" over the same formula. Spiral 5 above applied the "sinus" transfer function while spiral 6 applied the "cube" transfer function.
 |
 |
| Spiral 7: Twin Traps |
Spiral 8: Courbes Polaires |
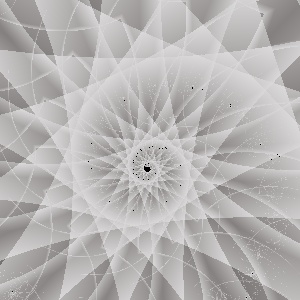
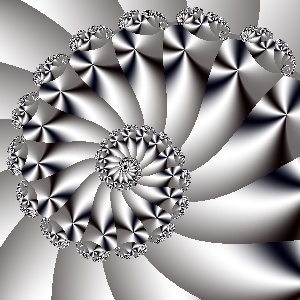
The pictures "Spiral 7" and "Spiral 8" (above) are both a spiky spirals. The left picture uses the "Twin Traps" formula while the right one uses the "Courbes Polaires" formula. In the twin Trap we can actually see the rotating triangle effect, known to all old-timers as an elementary pieces of BASIC graphics :-) The right picture has oblong pentagonal spikes, with shinning "flowers" at the tip of each pentagon.
 |
 |
| Spiral 9: Circle Traps |
Spiral 10: Sub |
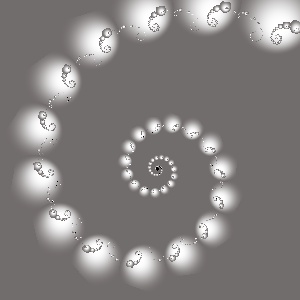
The pictures "Spiral 9" (above, left) is created with the transitional unction "Circle Traps" and is an excellent example of what I call "elemental spiral", meaning a spiral constructed of separate elements, this time balls. The balls are increasing in diameter as the distance from the spiral center increases, and they are arrange along the imaginary spiral curve line.
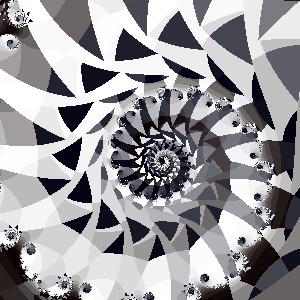
The picture "Spiral 10" (above, right) is created with the transitional function "sub" and is presents
a more complicated spiral structure. This design has somewhat "hand painted" quality, like a graphical drawing, rather then a digital computerized math pattern.
|
 Since the Mandelbrot formula has a specific outside coloring patterns, we have to apply more sophisticated methods in order to get various coloring patterns in the outside area. This may be easily achieved by setting a "coloring formula" to the outside tab. To do this click on the 3 points [...] under the "Outside" tab, at the top-right corner o the big properties box (see picture at the right) .


